Very often I receive a set of questions like those: “Hey Broncofish, how do I best start 3D printing?” or “Whats the best printer?” or “I am afraid it’s too complicated, please advise…” Although I am trying to get back to every inquiry made, sometimes (because of the variety of different channels of communication) messages slip my attention. This is why I wrote this blog article. The intention is to answer the most common questions and some of the misconceptions that float around on Facebook or on the internet.
Please bear in mind, that I am looking at the topic solely from a “terrain printing perspective”. I am fully aware that for other print jobs other setting / tools may be better. I am simply sharing what works for me with many many hundreds of successful prints just this year. So, here we go: the most common questions on 3D printing (GrimDark) Terrain.
How much is it to get started?
One of the most common questions is: “How much is it to get into 3D printing?” or “I have a budget of 500 gold coins is that enough?”. Well, there is no definite answer to both questions. The only thing that is absolutely certain is, there is a lower treshhold of around 350US$ that need to be spent at a minimum. Here is why:
Many get excited when they see printers on discount and then spend the budget on the best printer they can get for said budget. What people new to the topic often don’t realise is that there is a lot of additional costs, when you want to have nice and crisp prints. The printer is literally only half the effort, because one thing is at least as important as the actual print result and that the “after work”, which I’ll explain later.
So, how much is it now? You can’t do anything wrong, if you set a budget of X and then spend half of it on the actual printer. The rest will be spent on additional equipments, consumables, tools and maschines.
So, what do I need?
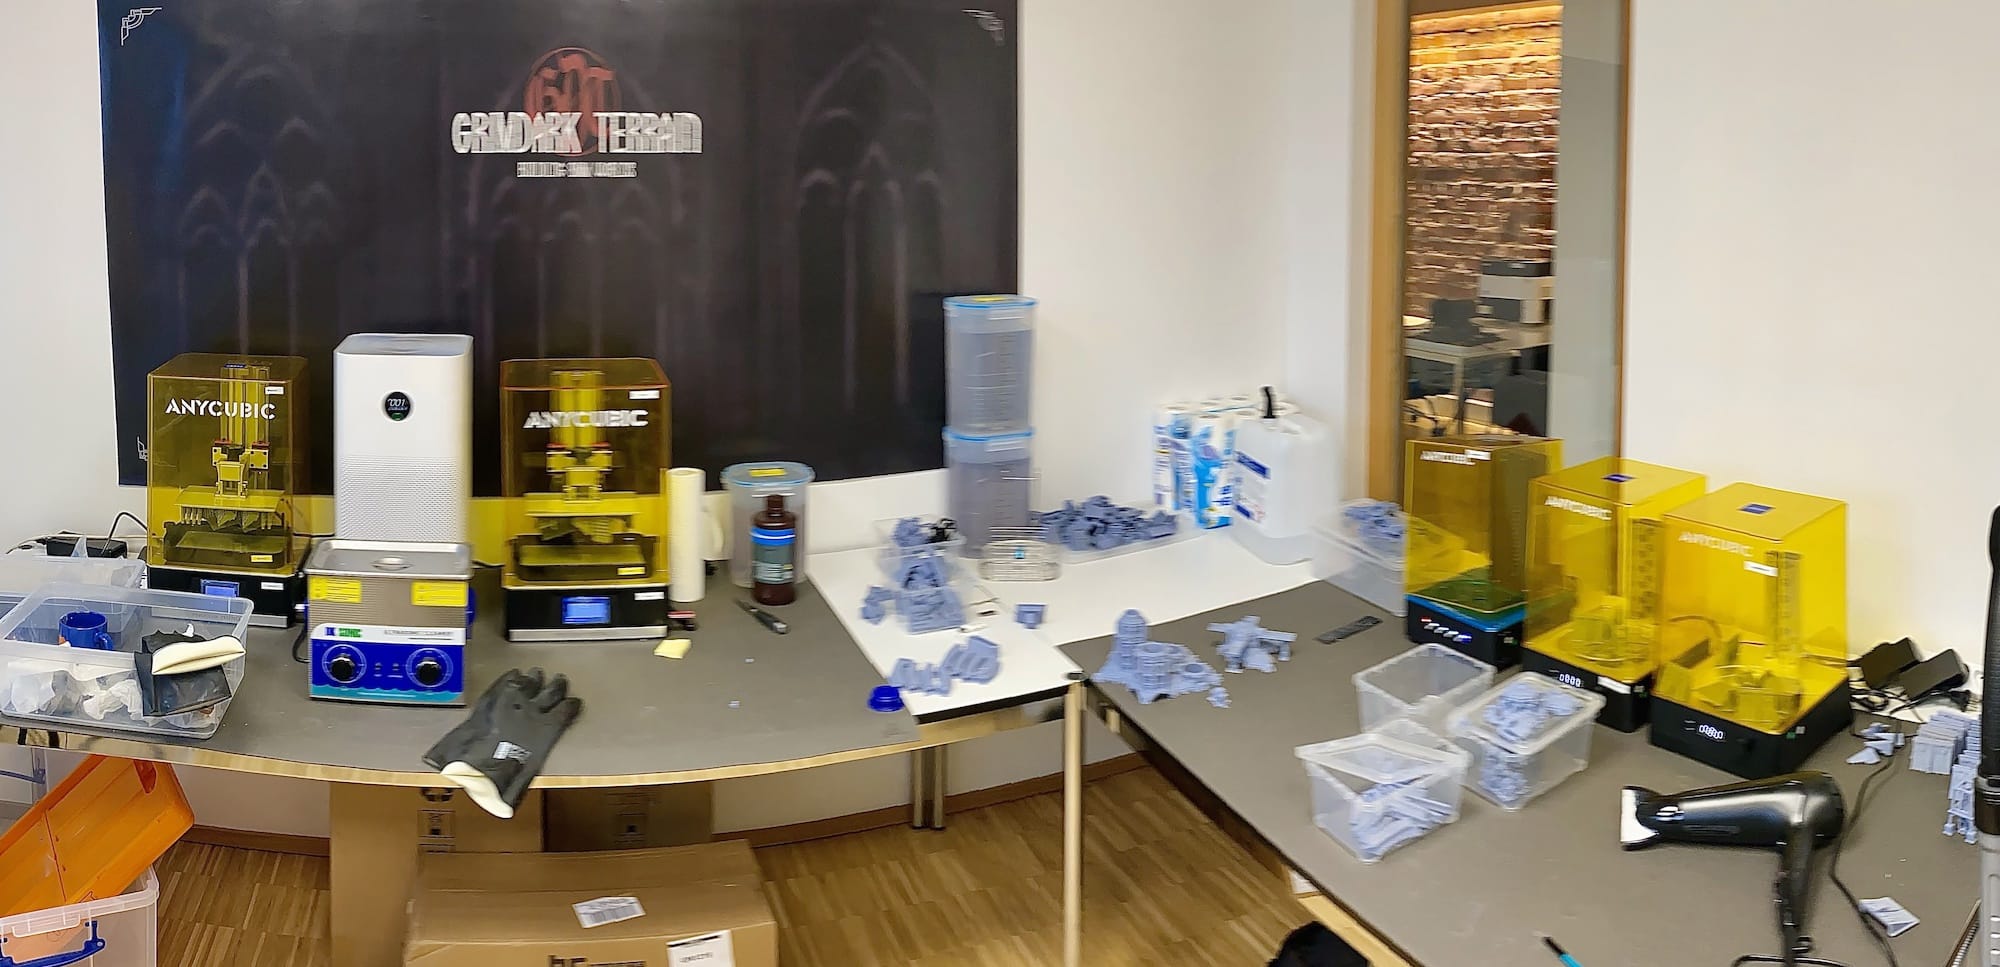
Of course, first you will need a printer (#captainobvious). As soon as you start reading, you will find that there is a huge trench war going on between Elegoo and Anycubic. Owning a number of Anycubic printers (from the OG Photon up to several Mono X in my workshop), I can personally not confirm any faulty devices. Maybe I am lucky, but I never had to deal with customer service. For me it’s a question of availability, price and getting spare parts.
Why am I mentioning availability? Because there are some brands that are difficult to get in certain places. For example: in Germany it is a lot more difficult to obtain a Phrozen Maschine, let alone spare parts or sending it back to maintenance… Whereas those maschines are very very common in North America. Bottom line:
- Do your research on prices
- Buy in your own country for easy delivery and returns (and to avoid tariffs)
- Get a model that checks all these boxes and don’t pay too much attention on the trench war about which brand to use 😉
What specs are important?
When printing terrain, you will quickly realise, that one needs to run a lot of prints for one decently filled battle field. Therefore two things are important: build plate size and printing speed.
- Build plate: While I pay a lot of attention to all parts fitting the smaller maschines as well, I strongly recommend getting a MonoX- or Saturn-sized printer. Why? Because you can print this here in one go and it just saves you a lot of time. Of course it is a question of budget, but I happen to know a lot of people that went for a smaller maschine at first only to buy an additional larger one a couple of months later.
- Print Speed: When talking about speed, only one thing is really important and that is the exposure time per layer. The exposure time is dependant on the intesity of the UV light curing the resin and there are big differences. How can you tell? Look for a maschine that has a monochrome display. Most newer generation printers have that already, but still manufacturers offer entry level maschines without monochrome displays. The difference in speed is about 3x to 4x, meaning that on a Mono X you can print a piece in 1 hour, that would take about 4 hours on an OG Photon. In the long run and when thinking about the number of prints you’ll do when printing a full table, this really adds up. Also, the monochrome displays have a longer life expectancy and as soon as you replace your display once, it’s already worth the additional cost for a monochrome printer.
The remaining specs are not too important when printing terrain. I do realise that this might be a statement, that will get the juices flowing in some of the readers, but bear with me, it’ll make sense.
I decided for a printer, what else do I need?
As I said in the beginning: the printer alone is only 50% of a good print (assuming that the printer is well calibrated and you know what you’re doing). The other half is the post-processing and this requires a few additional equipments.
- Containers to wash your prints in. I am using tupperware-like 4 litre containers that are air tight. In total I have three: one for the initial wash, then one for the secondary wash and one to store the contaminated IPA. Be aware that most of these containers are transparant and you want to block the sunlight from reaching the saturated IPA. Just put a cardboard box over it, when you dont use it.
- A soft tooth brush. In the first wash, I use a soft tooth brush to gently scrubb the excess resin in the first bath. Just get the cheapest and softest toothbrush you can find and replace as soon as the bristles become hard.
- Gloves for handling chemicals: this is very important. Do treat resin as liquid cancer. This stuff is 100% toxic and you dont want it anywhere near your skin, eyes, nose, mouth etc. While there are many that use nitril gloves when handling resin, I do recommend the thicker gloves for chemicals, because you will never experience punctured gloves. This is important, because removed supports or broken base layers have a lot of sharp edges and easily rip / puncture through nitril gloves.
- Get goggles. Seriously. I know it looks silly, but I know people that were unlucky and got a drop of resin-saturated IPA in their eyes and that’s not something you want to experience. Just get goggles and wear them.
- Get a rebreather that is appropriate for filtering fumes. When talking about fumes, I am not so much referring to resin fumes but more to the IPA fumes. IPA evaporates swiftly and you dont want to inhale this. Especially when using a hair dryer to dry off the prints before curing, you can easily produce a lot of IPA fumes.
- Get something to cure the prints in. Most manufacturers have a variety of curing stations. These things have changed my life and I highly recommend getting one. A small one is normally more than enough.
- Get the necessary tools. As someone in the hobby I just assume that you have pliers, scalpels and the like at home.
- Get toilet paper. I know that many use kitchen paper towels for cleaning the vats, but I dont believe in it. Here is why: paper towels are made to last and they do not tear. Toilet paper is quite literally made to protect your arse and is a lot softer. So, to avoid unnecessary scratchy on the FEP, use toilet paper when cleaning it out.
- Get sturdy rubbish bags. Again, the removed supports have sharp edges and a lot of pointy ends. You don’t want the bag to rupture when you’re taking it out. This will lead to a lot of mess, stinky hallways, angry wifes and unnecessary cleaning times. Trust me.
That’s it so far. I hope these things help when deciding which printer to get and what tools / equipments are needed. Now let me plan the next “how to” post. Happy printing!


Hey!, I resemble these remarks! LOL, thanks for the write up, it’s just what I was looking for!
Why do I need a printer if there are 3d printing services?